Larry's Projects
Nixie Tubes Plus:
Dekartons and Magic Eye Tubes
Dekartons and Magic Eye Tubes
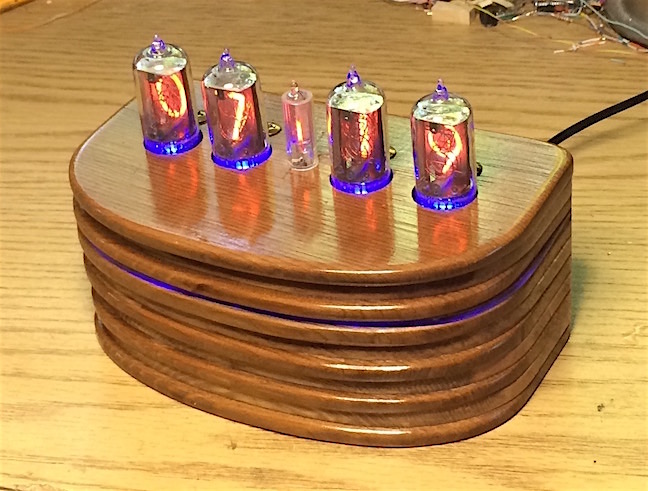 Nixie tube clock Here is my new Four Nixie Clock. This one is built with B5441 (Burroughs) Nixie Tubes. I came up with a different case design based on laminating 10 layers of cedar and pine. The blue lighted layer is clear acrylic. |
 Four Tube Nixie Clock |
> My Four Tube Nixie Clock came about mostly because I happened to have most of the parts on hand. That is, except those for the new 170 Volt power supply. The power supply is built from several images found on the internet but the one I paid most attention to is that by M. Moorrees at threeneurons.wordpress.com. I started with the NK01B kit, then built my own from scratch. |
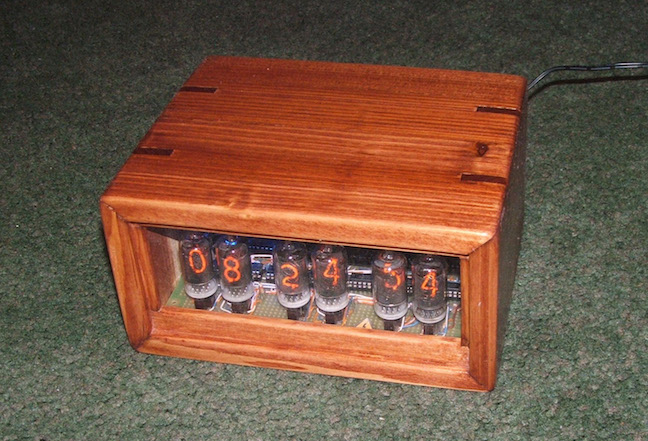
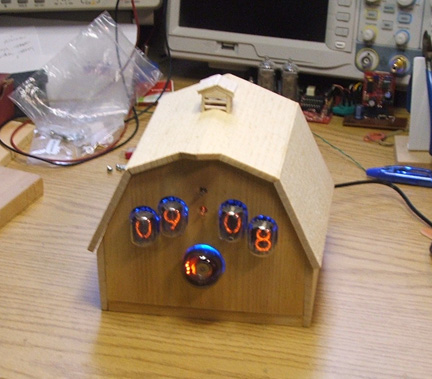 the "Nixie Barn" My facination with the nixies only grew as I soon found myself looking at Dekatrons and Magic-eye tubes. Here I'm using a GC10B dekatron in a circuit kit from threeneurons.wordpress.com. The kit is called the 6 Nixie clock with Dekatron. However, I have made only one modification. I'm using 4 nixies, the Burroughs B-5991. This is what I had on hand and they fit my layout, the Nixie Barn. |
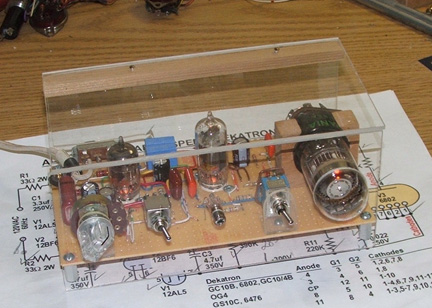 Tube Dekatron Spinner Here is a rather novel project using vacuum tubes and a dekatron (decade counting) tube. It will not tell the time of day or show a pendulum swinging at once per second, but is intriguing to watch. It was fun to build using tubes (instead of IC components) to drive the dekatron. |
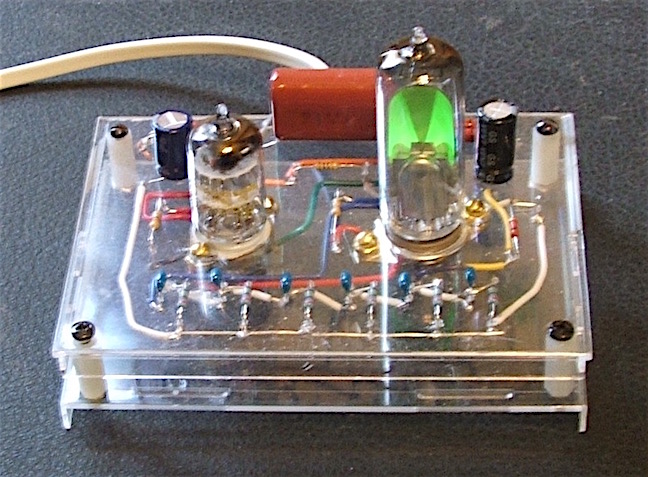 Magic Eye Winker
The vintage vacuum (or gas filled) tubes just keep on coming. The electron ray indicator tube even predates the nixie. Here I am using a 6DA5 (EM81) in the circuit I found on the threeneuronswordpress
website. The plastic case is made from a CD box. |
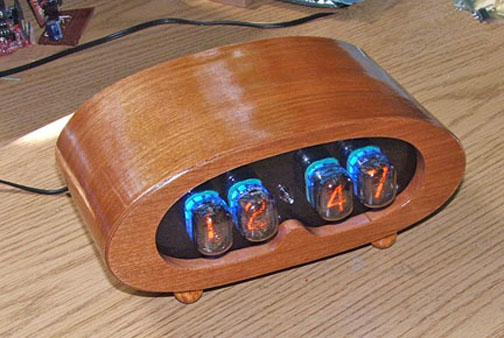
 6 Tube Nixie Clock 6 Tube Nixie Clock
|
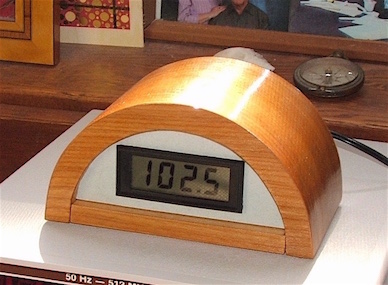 Barometer My barometer is built with a MPX2200 pressure sensor, a LM324 quad op-amp and a CX101BG LCD digital display. The MPX2200 measures pressures in the uVolt range. The op-amp circuits (LM324) multiply this voltage, providing about 1 volt/100KPa (1000 millibars) for the display. With the display wired to measure 2V FS, the 100KPa or 1000 millibar barometric pressure will read as 1 volt on the CX101BG. The case is oak veneer over a pine frame. |
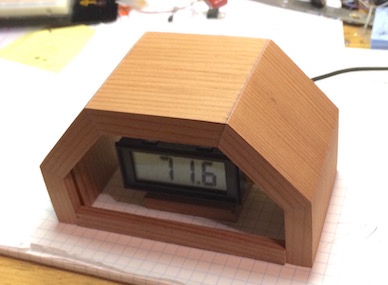 ThermometerMy basic digital Thermometer is much less complex than the Barometer. The temperature sensor is a LM34. For my purpose the LM34 reads in degrees fahrenheit. Its output is 10mV/ 0F so the sensor will output 700mV at 70 degrees reading on the display The 78L05 regulator provides the 5 volt supply for the LM34 and the CX101BG digital display. A trim pot is included for fine adjustment of the temperature. The thermometer case is built with redwood. |
HTML validated
![]() -
Lets iCab
-
Lets iCab ![]() smile
smile